


Make Broth from Bones
A how-to for making rich broth as a base for everything from soup to creamy risotto

I sat down on New Year’s Eve, inspired to finish this newsletter, when my phone rang. It was Brad calling to tell me our car had broken down about 20 minutes away from our cabin in the Poconos where we spent the past week. I closed my laptop and called my parents in NJ for help, hoping for a rescue ride and one of their two vehicles as a loaner until our car could be serviced, which would have to wait until the world resumed business on January 2nd.
Instead of writing, I would spend the next 48 hours with my focus shifted back to family, spontaneously hosting and cooking for my parents on New Year’s Eve, and then my brother and his family on New Year’s Day, at our little home in the woods. Choosing to make this a priority is something I feel a huge amount of gratitude for after more than a decade of grinding through the holiday season working in the food service industry. Now here I am, back at my desk on a new day, in this new year, hoping you’re also feeling inspired by the possibilities of everything new.
This newsletter is an EDIBLE EXTRA containing delicious content, which is available to paid subscribers. If you’re inspired to read beyond the paywall and start cooking, consider upgrading your subscription. And regardless of your subscriber status, thanks for having me in your inbox and for just being here.
XX, Heather
So much of my cooking follows the seasons. I get hooked on certain ingredients for stretches at a time, endlessly riffing on a recipe that becomes a seasonal go-to, eventually immortalized as a household favorite, or sometimes forgotten by the time another year rolls around.
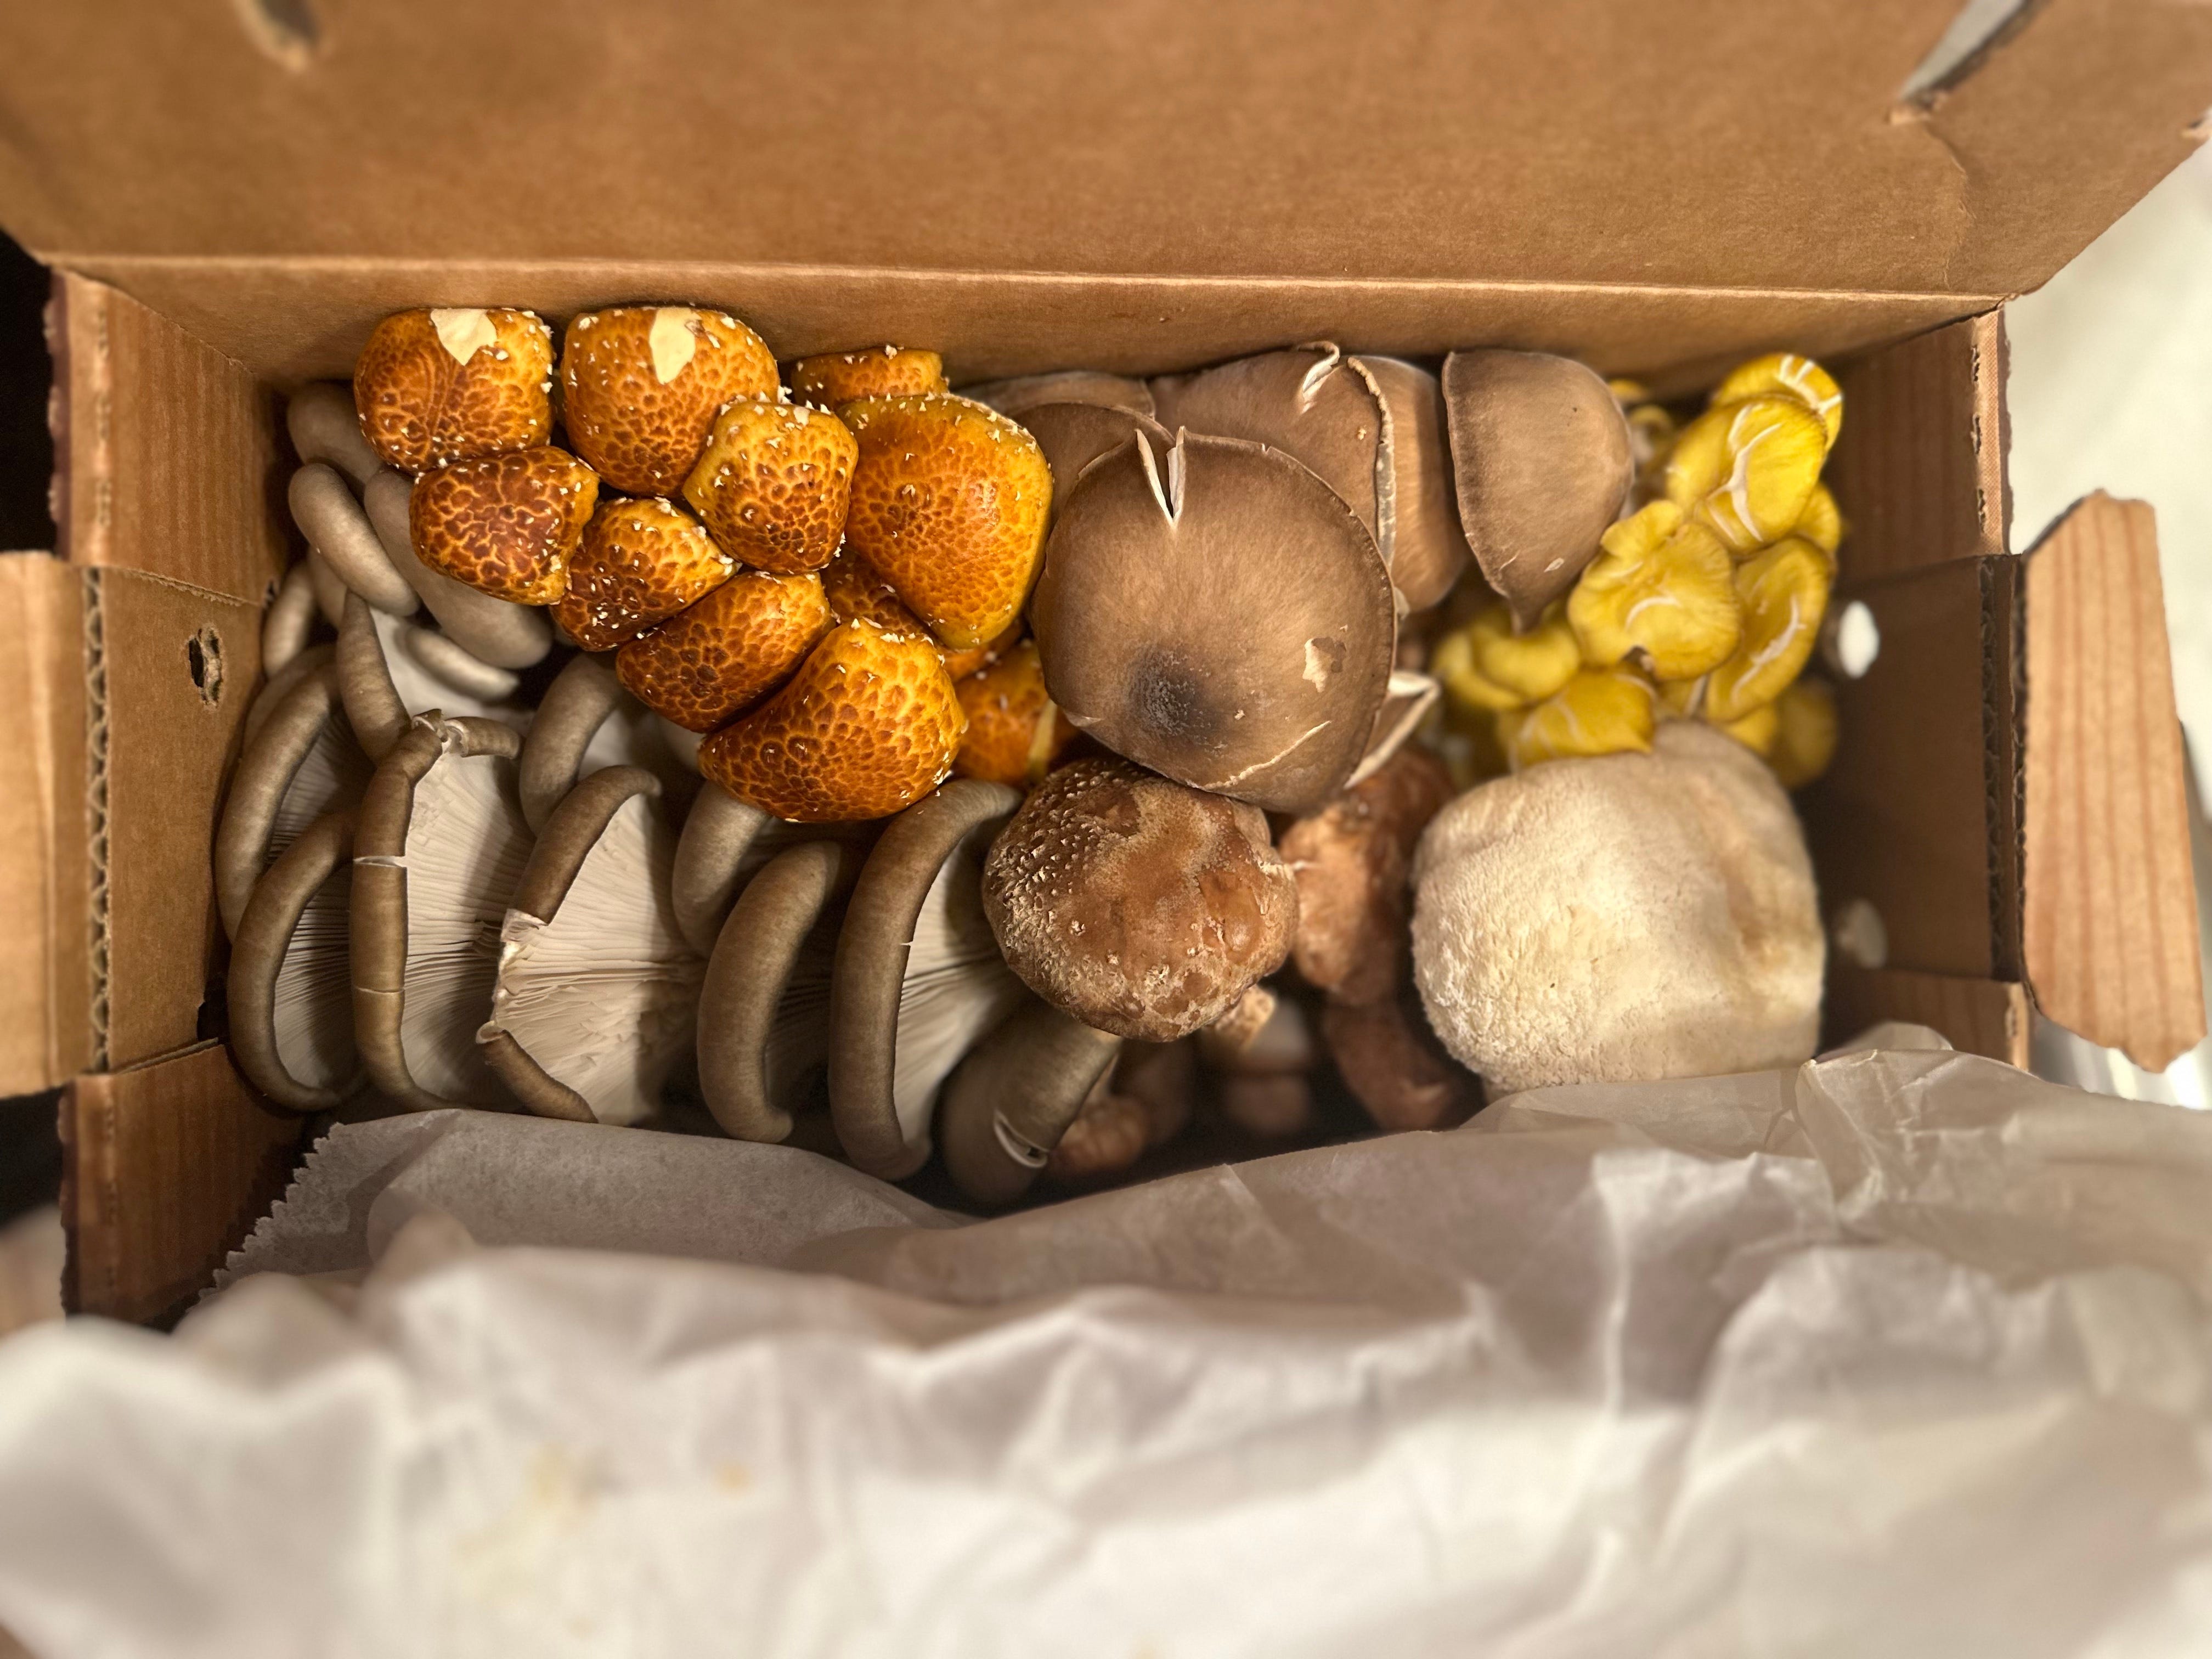
This Fall there have been two constants in my kitchen. The first is butternut squash, a thing I grab at the farmers’ market, making sure there is always one on my counter ready to roast when other plans have not been made. The other is mushrooms. Since I joined a CSA from my friends at Mycopolitan back in October, every other week I get a gorgeous box of several pounds of mushrooms including varieties like shiitakes, oysters, trumpets, lion’s mane, and most recently maitake. Cooking through them every two weeks means I put mushrooms in everything–even my butternut squash soup.
But the essential ingredient I never want to be without, especially when the weather turns cold, one that often brings these other ingredients together to make a meal, is broth. It’s a staple I always keep in my freezer. Even when I travel, I throw a quart of broth in the cooler to double as an ice pack and to have on hand wherever we go. Because you never know when you might want to pull together a braised dish to feed a crowd, or use up your miscellaneous vegetables in a warming, seasonal soup.
At home, every time Brad and I roast a chicken, we stuff the bones in a gallon resealable bag in the freezer. When that bag is full after a handful of chicken dinners, it’s time to make broth. A potful will produce several quarts. I’ll always put one straight into the fridge for the week to come and the rest into the freezer for a later date. Making broth is sometimes followed by making a big batch of soup, some of which I will also freeze by the quart for later.
This process is always part of my post-Thanksgiving leftover repertoire—to turn a turkey carcass into a season’s worth of broth. I own an XL stock pot for exactly this purpose. I guess it could also serve as a lobster pot if cooking lobsters was something I did. Instead I’ve made so many variations on turkey soup over the years, from classic turkey and rice to a spiced turkey tortilla soup, even a turkey jambalaya. This year a white bean chili with butternut squash, which I topped with sautéed mushrooms, was my grand finale for our Thanksgiving turkey.
My mom recently asked me, “how do you make your broth?”, a question I was asked so many times over the butcher counter. It is a process that I tend to take for granted, but is mysterious to many. And so I thought I’d offer you a non-recipe recipe, some tips and tricks for making your own liquid gold, and a few of my favorite applications for using it up.
And I must of course mention that making broth uses bones, the ultimate way to honor the animals we eat by cooking every part of them. Even if you’re not regularly roasting turkeys, or stocking your freezer with chicken carcasses, and you want to make broth, any farmer or butcher who raises or sells whole birds will happily sell you some chicken backs for making soup. They are inexpensive, yet provide you with something essential. The marrow in the bones and collagen in the joints will render and melt into your rich both, rewarding your efforts with nourishment.
Let’s Get Cooking
The process for making broth is the same for any type of bones. You can buy a bag of beef neck bones from your butcher to make some broth for beef stew or french onion soup. Pork broth is also very nice, especially if you’re the project type and could be motivated to construct a bowl of ramen at home from scratch. I make a lot of poultry broth simply because those bones tend to amass in a usable quantity in our kitchen, and because it works as a base for pretty much anything.
Part 1: How to make your broth
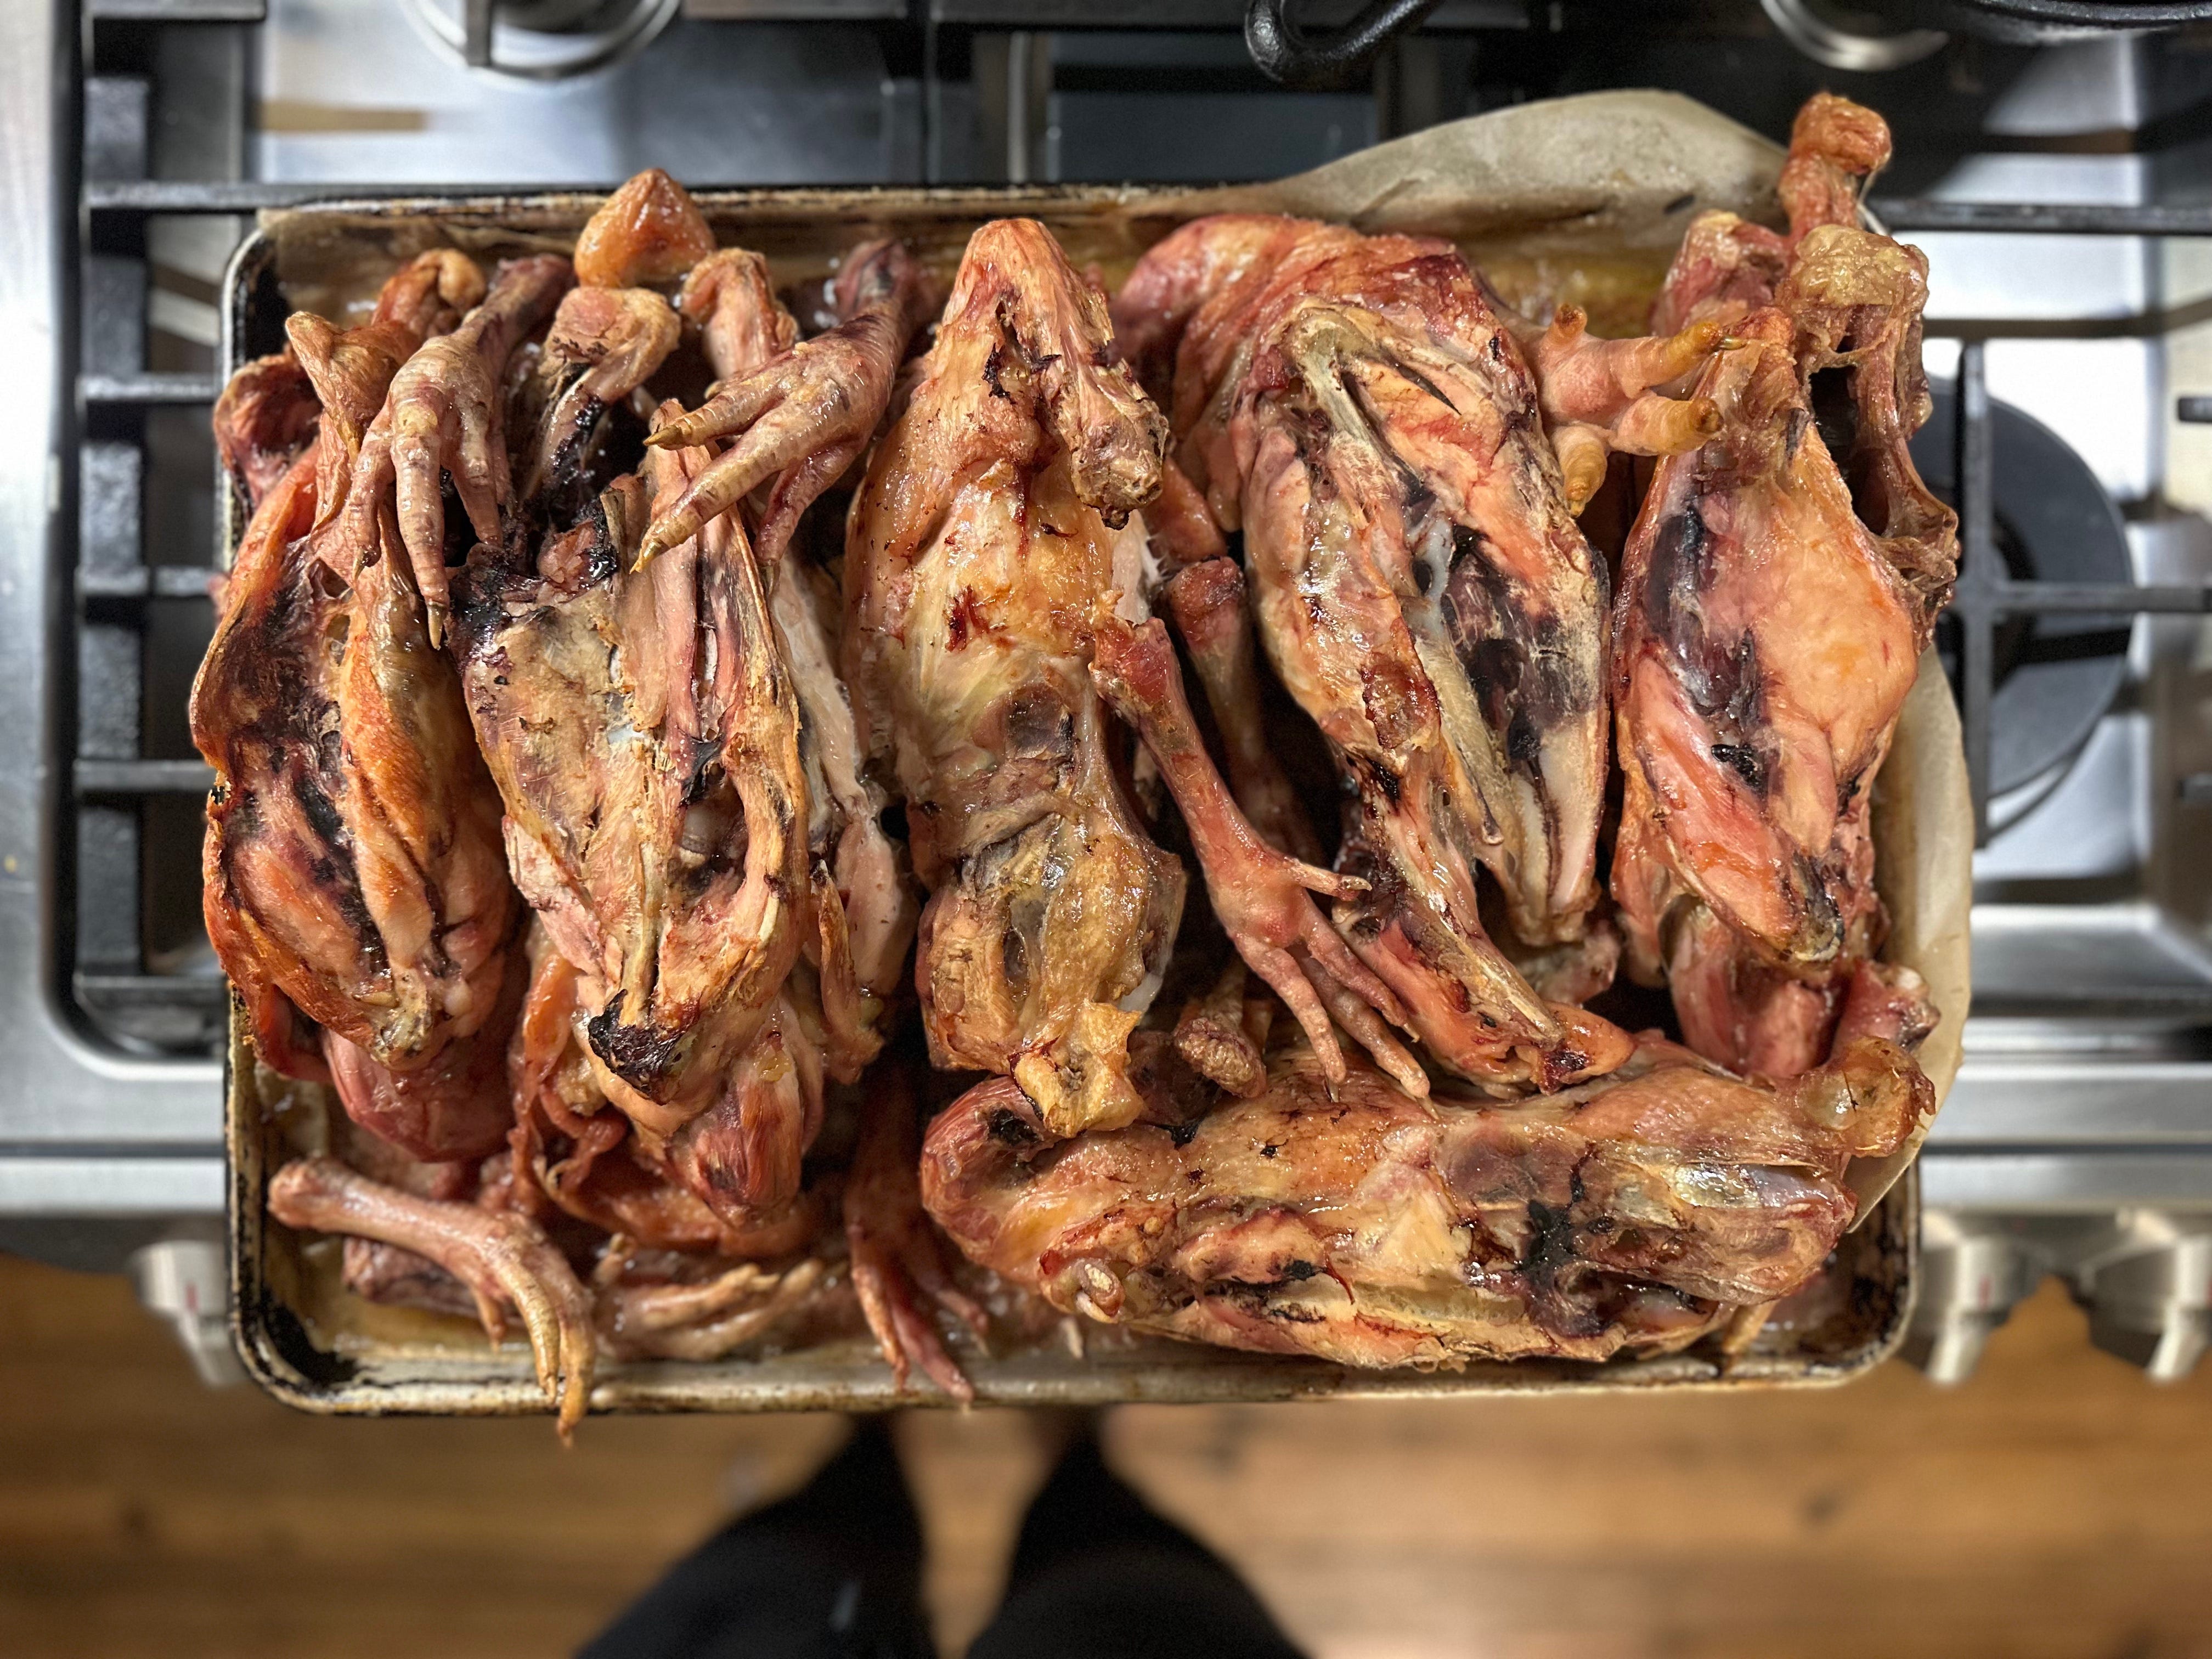
The first step in making broth is to roast your bones. You want to cook any of the raw blood remaining in the bones so it doesn’t cloud your broth with impurities. Roasting also adds flavor to your broth and gives you a deep golden color.
Turn your oven to 375 degrees, line a baking sheet with parchment paper to be nice to whomever does the dishes, spread the bones out in an even layer, and put them in the oven to roast. Then go do something else until your house fills with the smells of delicious roasting meat, indicating that they are done, which should take about an hour. The bones should all be nice and browned at this point, Note: You can also start roasting them from frozen. Just add a bit more time.
Slide the roasted bones and any of the fatty juices and crusty bits from the tray into your stock pot. Then cover the bones with COLD water so they are submerged with about two inches of water at the top. You want your pot to be pretty full, densely packed with bones for the most flavor. Then turn on the heat to medium-high and bring the whole pot to a gentle bubble. You do not want to bring the broth to a boil. This will force the bones to release impurities and you’ll get a cloudy broth.
Once you’ve got the liquid starting to bubble, adjust the heat to low so the broth settles into a gentle simmer. Nothing too raucous, you just want some pleasant, occasional bubbles. You’re going to let this continue for about 8 hours (for beef or other bigger bones you will want to simmer for about 12 hours), checking from time to time to make sure the liquid isn’t reducing below the level of the bones.
Note: With big batches I often do this overnight, which I recommend if you’re comfortable leaving your stove on while you sleep and don’t mind waking up to the smell of meaty broth wafting through your house. However, I don’t recommend leaving it overnight if it’s a small pot/batch, as there is a risk it’ll reduce too much while you’re sleeping.
Alternatively, the Instant Pot, which I love, is AMAZING and speedy for making broth1. The steps are the same, cover the bones with water (the liquid won’t reduce while cooking so you don’t need the extra 1-2” of headspace in the water as you do when cooking on the stove). Set the Instant Pot to high pressure for 90 minutes (this is for poultry bones, for beef I’d set it for 120-150 minutes) and let it naturally release when it’s done.
When your broth is cooked, you should notice that the carcass or bones you started with have all cooked down, come apart at the joints, and any meat clinging to them will have fallen off the bones. The liquid should be a rich golden color. And if you had a lot of collagen in your bones, when it cools it should jiggle like Jell-O.
Remove the larger bones and cartilage with tongs to discard, then strain the broth over a colander into a fresh pot (I like to strain it a second time through a mesh strainer, but this is not imperative). Let it cool and ladle it into your storage containers, taking care to leave behind any solids that have settled to the bottom of the pot.
Be sure to label your both with the date you made it on before packing it in your freezer to save. These days we use quart containers, which stack nicely in our chest freezer. Another good trick is to use quart-sized resealable freezer bags, which when frozen flat make nice little packages of broth that you can then file into your freezer, taking up minimal space. We set the open quart bags in a small mixing bowl to stand them up and make it easier to ladle your broth into.
Part 2: What to do with your broth
The obvious thing to do with broth is make soup. As I mentioned, I have been crushing on butternut squash soup this season, especially as a way to feed a crowd of friends or family. Made with rich chicken broth, there is a perfect ratio of 1 large squash to 1 quart of broth to yield a pot of creamy soup, and when served with a salad and some nice bread I find it an incredibly satisfying meal at this time of year.
Make Butternut Squash Soup
You’ll need to roast your squash first. Split it in half lengthwise and place the two pieces, rubbed with a bit of olive oil, cut-side down on a parchment-lined baking sheet. Roast the squash in a 425 degree oven for an hour or until it is very tender when pierced with a butter knife. Once it cools, scoop out and discard the seeds, then scoop the flesh of the squash into a bowl and reserve for your soup.
To prepare the soup, start by sautéing a sliced onion in butter or olive oil, seasoned with a bit of salt, until it is tender and starting to turn golden brown. Then stir in one or two cloves of thinly sliced garlic, a 1-inch piece of minced or grated fresh ginger, and a teaspoon of turmeric. Continue to sauté this for a few minutes, stirring, until it’s all very fragrant and golden. Add your roasted squash and one quart of broth, plus a little splash of maple syrup, then bring the whole pot to a simmer.
Allow the soup to simmer over medium-low heat for about 30 minutes to an hour. Then transfer the whole mixture into your blender and buzz it up until smooth. (Take care with hot liquid in a blender. It can build up pressure and “explode”. Start slowly with a few pulsing blends and open the top away from you occasionally to allow steam to escape). Transfer the soup back to your pot and taste for seasoning with salt and pepper.
To really class it up, I’ll sauté some sliced mushrooms in butter, dusted with my favorite curry powder, and spoon them on to the soup when serving2. A squeeze of lemon at the end is also nice.
Cook Your Rice and Grains in Broth
Perhaps my favorite way to use broth on the regular is to supplement it as the cooking liquid for rice, grains, or polenta. This is a great way to add some animal protein to an otherwise plant-forward menu. Rice pilaf made with rich broth is always a crowd pleaser of a starchy side dish when feeding a group. But my ultimate go-to is risotto, and this season with our CSA, you can bet I’ve been making mushroom risotto. Regardless of what flavors you’re craving, risotto is a rich and creamy blank slate to add vegetables to, like roasted cubes of butternut squash, sautéed mushrooms, maybe some frozen peas or shell beans saved from a previous season, or a big bunch of fresh spinach or other blanched greens.
Make Risotto
To make risotto you’ll want to use a wide pot. Melt several tablespoons of butter over medium-low heat and gently sauté a minced onion, seasoned with a bit of salt, until softened. Add a cup of arborio or other short grain rice (don’t rinse it, you want all the starch to end up in your risotto), and stir it to coat with butter. Then splash in a half cup of white wine and stir until it’s nearly absorbed. Meanwhile, heat a quart of broth in a saucepan over low heat, then start to ladle warm broth over the rice, adding a half cup a time, gently stirring and never straying too far from the pot until the liquid is absorbed.
Continue to add broth like this until the rice has swelled to be creamy and tender. Before you add your last ladle of broth, fold in whatever cooked veggies you might be adding (roast, blanch, or sauté them in advance to have at the ready), then add the final ladle of broth and a half cup of grated hard cheese like parmesan or pecorino. Stir, season to taste with salt and pepper, and serve immediately.
Make Congee
If I’m wanting something soothing and less decadent (minus the butter, wine, and cheese), I’ll make a rice porridge, AKA congee or jook. This again is a great way to put the Instant Pot to use. Simply mince up some ginger and garlic, rinse 1 cup of short grain rice, and add everything to the pot along with a big pinch of salt and 6 cups of liquid (I’ll use 1 quart of broth with an additional 2 cups of water), then set the Instant Pot on the porridge setting–or 30 min on high pressure, allowing it to release naturally.
If you want to add some greens to your meal, stir a bunch of fresh spinach (coarsely chopped if the leaves are big) into the porridge to wilt when it’s done. I like to top mine with sautéed mushrooms finished with a splash of soy sauce, and maybe a fried egg if I’m feeling fancy. For a garnish, I’ll sliver some scallions if I have them, or top with some cilantro leaves and sprinkle a bit of chopped nuts (peanuts, cashews, or even almonds if it’s what I’ve got) for crunch.
Tell me, do you make broth? How do you use it? Have you made ramen at home? I’d love to know some of your favorite soups and other ways to cook with broth. I’ve been cooking and eating a lot of beans3 these days and have a white bean and kale soup spiked with chili flakes on the brain. We’ll see what my next quart of broth from the freezer inspires.
For those of you who prefer to roll with a formal recipe, below are a few I collected from around the internets to supplement my non-recipe instructions. Happy cooking!
Roasted Butternut Squash Soup from Cookie and Kate
Mushroom Risotto from The Modern Proper
Butternut Squash Risotto from Ina Garten via The Food Network
How to Make Congee (in an Instant Pot) from Omnivore’s Cookbook
Except when I accidentally fried one of my Instant Pots as I poured eight cups of broth into the device without putting the pot insert back in first. I mourned the loss of all that rich golden liquid as I watched it flow over my kitchen counter onto the floor.
This move is inspired by a recipe I used to make with my friend Beth, back when I helped cook and care for her two young boys with severe food allergies as a college student on the Upper West Side of New York City. I learned a lot about being resourceful in Beth’s kitchen, but I’ll tell you more about that another time.
If you’re not cooking with dried beans, you should be. They are a great source of protein, and the texture and flavor (especially heirloom varieties grown by small farmers) is incomparable to what you’ll find in a can. IMO, the best beans come from my good friends at Boonville Barn Collective. You can order from their Fall 2023 harvest of beans online now—I recommend stocking your pantry like I did, because they’re likely to sell out soon!
soulFULLsoup! Thank you for sharing such a beautifully written piece. Broth is both magical and mysterious!